Integrating Mapbox API into Your Ruby on Rails App with the Mapkick Gem
A Step-by-Step Guide to Enhance Your Rails App with Interactive Map

As a skilled Ruby developer with expertise in Ruby on Rails for full stack development, I'm enthusiastic about imparting my knowledge to others.
Introduction
During a recent side project of mine, I found myself in need of incorporating map functionality into my Ruby on Rails application. To my surprise, there was a scarcity of comprehensive resources available for this task. Determined to bridge this gap, I embarked on a journey to unravel the integration of interactive maps within a Rails app. The result is this guide – a simple, step-by-step manual to aid anyone seeking to seamlessly integrate Mapbox-powered maps into their Rails projects. Join me as we explore the integration process together.
Getting Started
1. Creating Your Rails App
To kickstart your map integration journey, let's begin by setting up a new Rails application. Open your terminal and execute the following command:
rails new MapboxRailsApp
2. Adding the Mapkick Gem
The Mapkick gem simplifies the process of integrating maps into your Rails app. Open your Gemfile and include the gem:
gem "mapkick-rb"
Once added, save the file and run the following command to install the gem:
bundle install
3. Configuring Importmap
Importmap simplifies JavaScript module loading in Rails applications. To configure it for Mapkick, open config/importmap.rb and insert the following line:
pin "mapkick/bundle", to: "mapkick.bundle.js"
4. Updating Application JavaScript
Open app/javascript/application.js and import the Mapkick bundle:
import "mapkick/bundle"
Setting Up the Map
1. Generating a Location Model
Let's create a scaffold for locations with name, latitude, and longitude attributes:
rails generate scaffold Location name:string latitude:float longitude:float
2. Migration
Execute the migration command to apply the changes to the database:
rails db:migrate
Utilizing the Mapbox API
1. Obtaining a Mapbox Access Token
Sign up for a Mapbox account and obtain an access token from your account dashboard.
2. Creating the Mapbox Configuration
In config/initializers, create a new file named mapbox.rb and set your access token:
# config/initializers/mapbox.rb
ENV["MAPBOX_ACCESS_TOKEN"] = "your token"
Displaying the Map
1. Updating the Locations View
Open app/views/locations/index.html.erb and insert the following code below <h1>Locations</h1>:
<%= js_map [{latitude: 37.7829, longitude: -122.4190}] %>
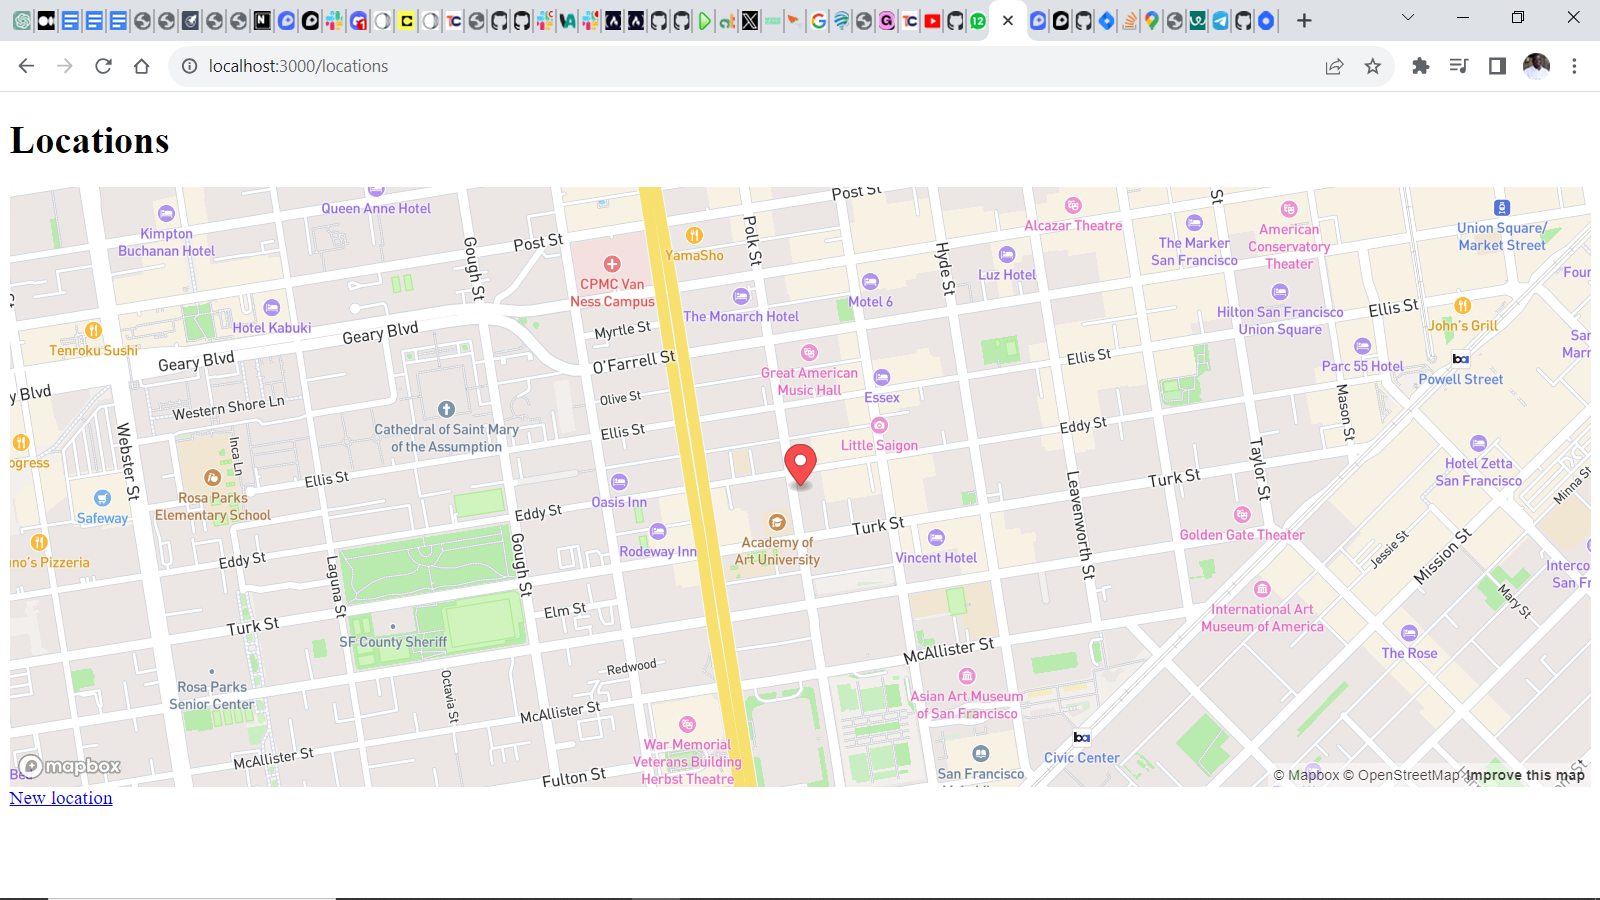
2. Checking Your Work
Start the Rails server and navigate to the Locations index page to see your dummy map in action:
rails s
Your browser: http://localhost:3000/locations
You should be able to view as below:
Show Individual Points on a Map
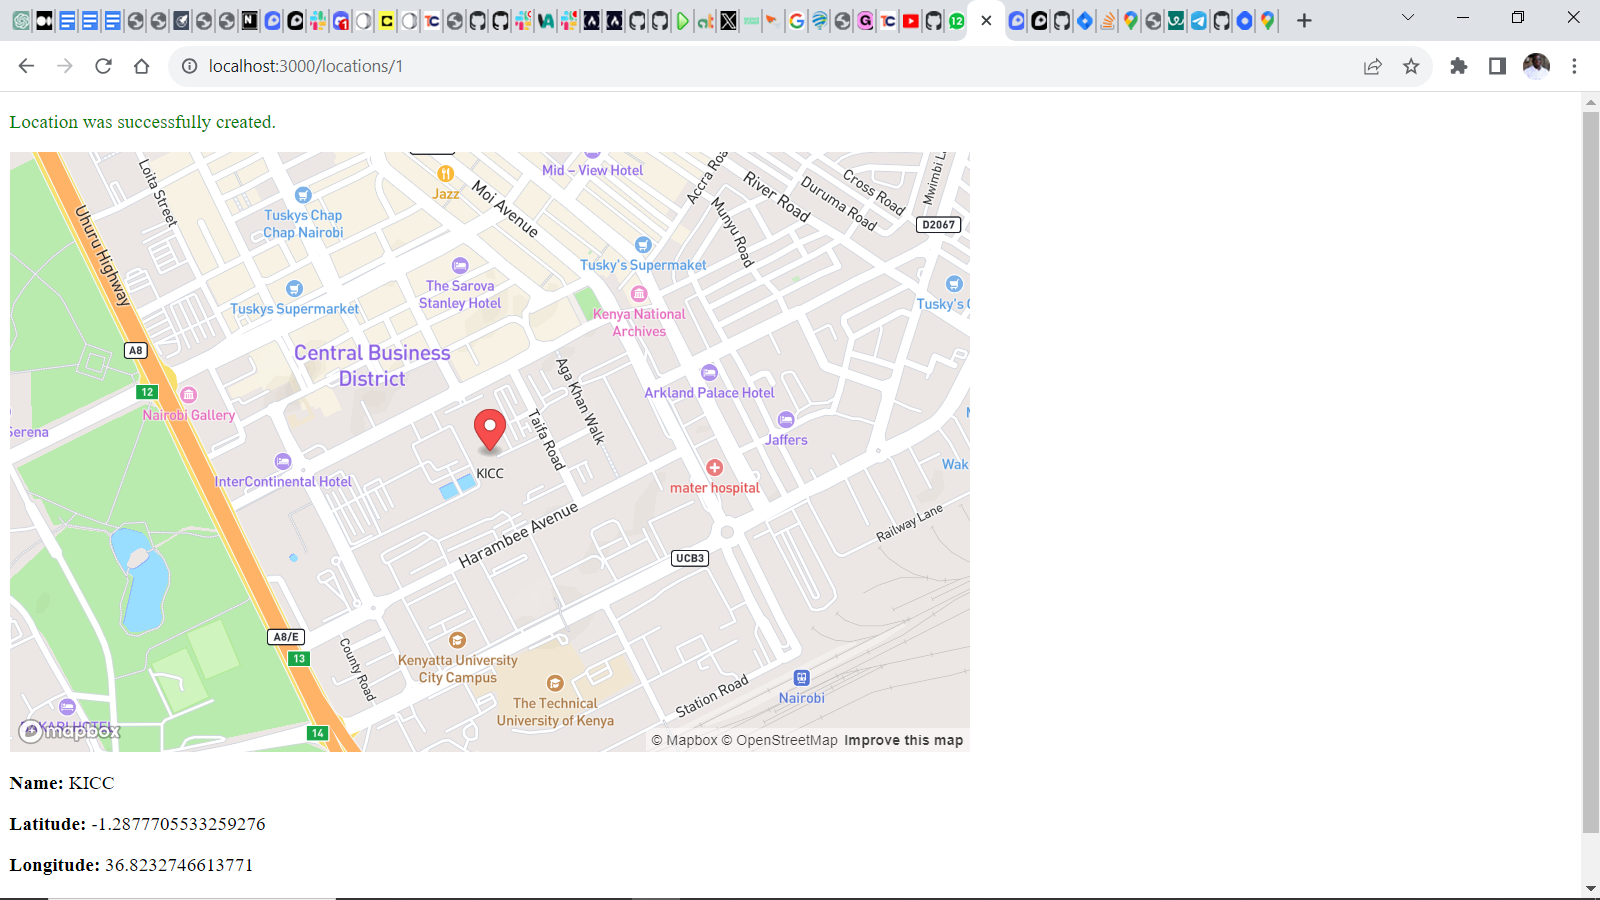
After accessing your app in the browser using the link http://localhost:3000/locations, you're now ready to take the next step and enable the ability to view individual points on the map. Let's walk through the process of adding a new location, such as the iconic Kenyatta International Convention Centre (KICC) in Nairobi, Kenya, with the coordinates -1.2877705533259276 latitude and 36.82327466137716 longitude.
Adding a New Location Entry:
Click on "New Location" to create a new entry.
Fill in the details:
Name: KICC
Latitude: -1.2877705533259276
Longitude: 36.82327466137716
Save the new location.
Enhancing the Location Partial:
To display this newly added location on the map, you need to modify the
_location.html.erbpartial. Locate this file in your code editor and make the following changes:<div id="<%= dom_id location %>"> <%= js_map [{latitude: location.latitude, longitude: location.longitude, label: location.name}], id: "cities-map", width: "800px", height: "500px" %> <p> <strong>Name:</strong> <%= location.name %> </p> <p> <strong>Latitude:</strong> <%= location.latitude %> </p> <p> <strong>Longitude:</strong> <%= location.longitude %> </p> </div>In this code block, the
js_maphelper is used to render a map centered around the latitude and longitude of the specific location. Additionally, a label is provided for the location's name. The map is given anidof "cities-map" and set to have a width of "800px" and a height of "500px". The name, latitude, and longitude of the location are displayed alongside the map.What you've effectively done here is create a dynamic map for each location entry that automatically centers on the specified coordinates. This allows users to visualize the location on the map directly within your Rails application.
The output should look like this:
Conclusion
By implementing these steps, you've transformed your Ruby on Rails application into a platform capable of displaying individual points on the map, greatly enriching the user experience with engaging and informative visualizations. Hooray for reaching this milestone! This integration, made seamless by leveraging the Mapbox API through the Mapkick gem, underscores the essence of this basic guide. Serving as a starting point for those seeking to incorporate maps into their projects, this guide bridges the gap I encountered during my side project. Now, armed with this newfound knowledge, you're ready to embark on exciting map-centric adventures in your coding endeavors. Happy coding!


